Sunday, October 24, 2010

Van Dyke Process, Before and After


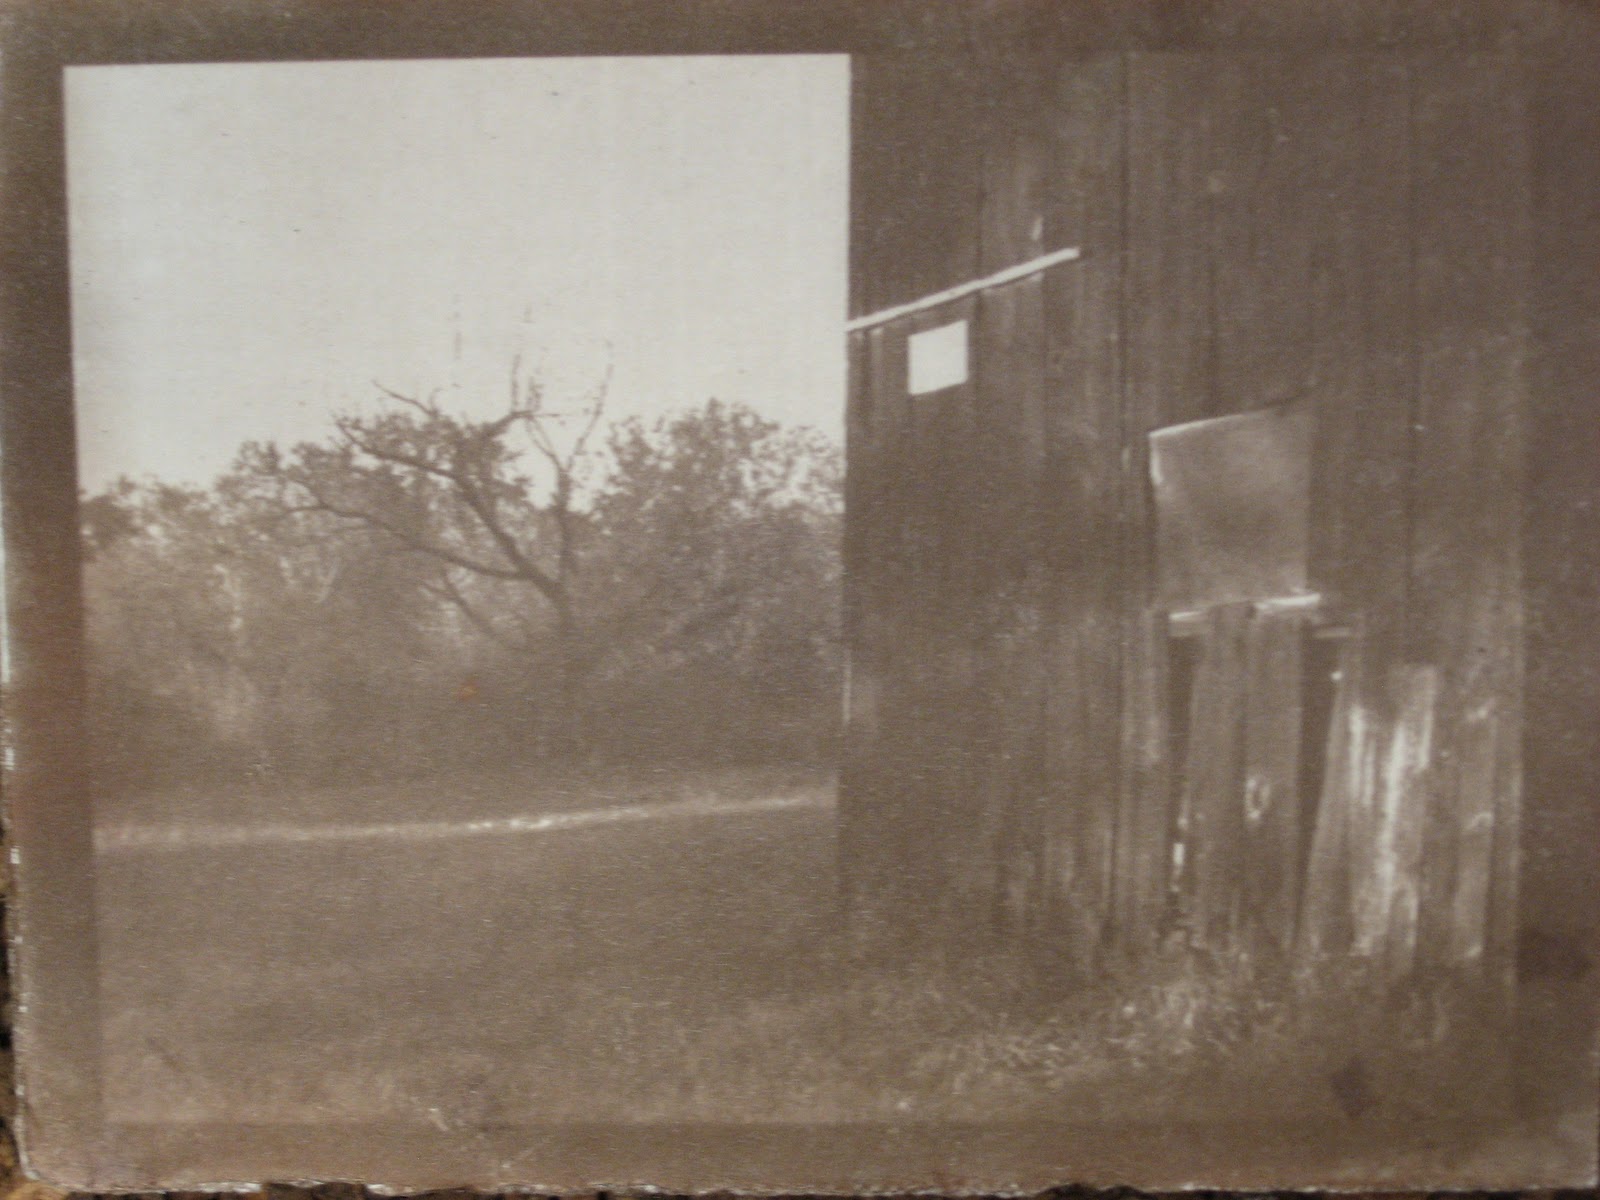
Here are the last two. (Again, I feel the need to apologize for the poor photography of the final product.)
 
I feel I had quite a few technical difficulties with this project, since I've observed some of the more successful Van Dykes from other students in the class. I can see that it's not just the original image that matters, but so much more--Photoshop negative printout vs. a 35mm negative reproduction; paper used, condition of solution, coverage of solution onto paper, exposure time, and fix. Oh, and I hate to say it, but size DOES matter in this instance. ;-)

Van Dyke Process, More Before and After

Yes...yet another. Hey, what do you want?  I only had one day after work to take these shots before sun down. As it was, I had to get out of work early to do so. I concentrated on these old buildings that I thought would work well for this process. It was really difficult to keep the detail (not that the originals were all that great, since they were digital, and not film, taken with a simple little Canon Power Shot camera). Also, expertise in Photoshop would have helped to sharpen these up.

And speaking of Photoshop... I don't have it here at home...otherwise I would have cropped this photo I took of the final product. I wanted the close-up, because I made these prints rather small. However, perhaps you can see that I mounted this as a float on a dark brown cork board for display purposes at school. Umm. Yeah, the sunlight got in the way. Ugh. Also, notice the paper looks blotchy. That is probably because the paper was not coated evenly, with the Van Dyke developing solution, beforehand.

Van Dyke Project--Before and After

 
So, here is an old barn... again. This is a fairly sharp color photo I took during sunset hours. And below, as you can see, is the same print using the Van Dyke process. Now the barn looks REALLY old! Or... at least the image does. I like the antiquated look the Van Dyke process gives. Again, however, I've not been able to take a good photo of the finished product.

I found the most difficult part of printing to be with paper coating, and fixing time. Ideally it would be nice to keep the detail (in the wood of the barn, for instance), but I must have been doing something wrong. There's a lot of trial and error involved, in my opinion--the condition of the solution, how well the paper is coated, the paper texture, exposure to the light, and how long the image is in the fix. It's, dare I say, exhausting!


Monday, October 11, 2010

Meant to say...

The Van Dyke images shown here were just a trial run. New and improved images to come (well, let's hope so!).

Van Dyke Project #3

This one, uh... not so great. I used a large format negative for this one. This particular image convinced me that I need to go out and purchase some hot press, smooth, paper for a better result. This is way too fuzzy, and looks out of focus--the original negative is not. Off to shop!

Van Dyke Project #2 Image

Here's another with the same process (obviously). This is also something I shot a few years ago, and printed as a B&W at the time. In this instance, I have to say this Van Dyke process adds a lot of character to the trees. If you could see the actual print, you would detect a melting snowman way  down  on the horizon line, to the right. Poor fellow.

Van Dyke Project #1

Here's that old barn again. I thought it would be interesting to see it as a Van Dyke process. (Yes, I know, I could use some new images. Haven't found the time yet for shooting... images, that is. ;-o)